Your first app is a hit the day it’s launched. But one week later, you realize that it has no retention. You discover that this is because whenever a user clicks the “send” button, their comments get posted twice.
The bug was so minor, but it killed your momentum. But that’s okay. For your second app, you and your partner check more carefully. You both click, click, click your app all day and night to prevent minor bugs like that from happening again.
For one app, that’s okay. But after a year, you have a company building 7 apps on different platforms, including web, iOS, and Android. Your team now does code review before any app launch. You test through the apps and do your clicking before they’re shipped. But your nightmare from app #1 returns: users drop the app and this time it’s because their posts showing strange characters when they type an emoji. You end up with 1-star ratings after launch.
There are 3 types of product-making companies: those who do not test, those who test, and those who test fast, accurately and frequently.
Is an automated testing system with continuous integration (CI) just a dream? CI seems like a “nice-to-have”, especially since services that run tests and generate reports like Sauce Labs, BrowserStack, Test Complete are expensive. The good news is, there are many free and popular tools out there that you can mix and match to set up a free automated testing system. As a QA tester, I figured out a free testing pipeline setup, so I’m sharing it to save you time and money.
Why did my company want to set up an automated system? Here are some reasons below:
- We hate manual repetitive jobs that are prone to human error.
- We want a smoother process (test it when there is a code update), and reduce the waiting time.
- We want to schedule the tests and make them under control
Setting up your UI tests
This post introduces a practical pipeline setup that can run web-based UI (User Interface) tests automatically and continuously. The later part maybe a bit technical but it’s quite fun to build!
I have set up the whole system with these free and open-source tools:
- Selenium — to script and automate browsers to perform tests
- Docker — to build an image for test environment and ship it fast
- Gitlab CI — to trigger, build and run the test upon code updates
- Skygear — to save test result for report on demand
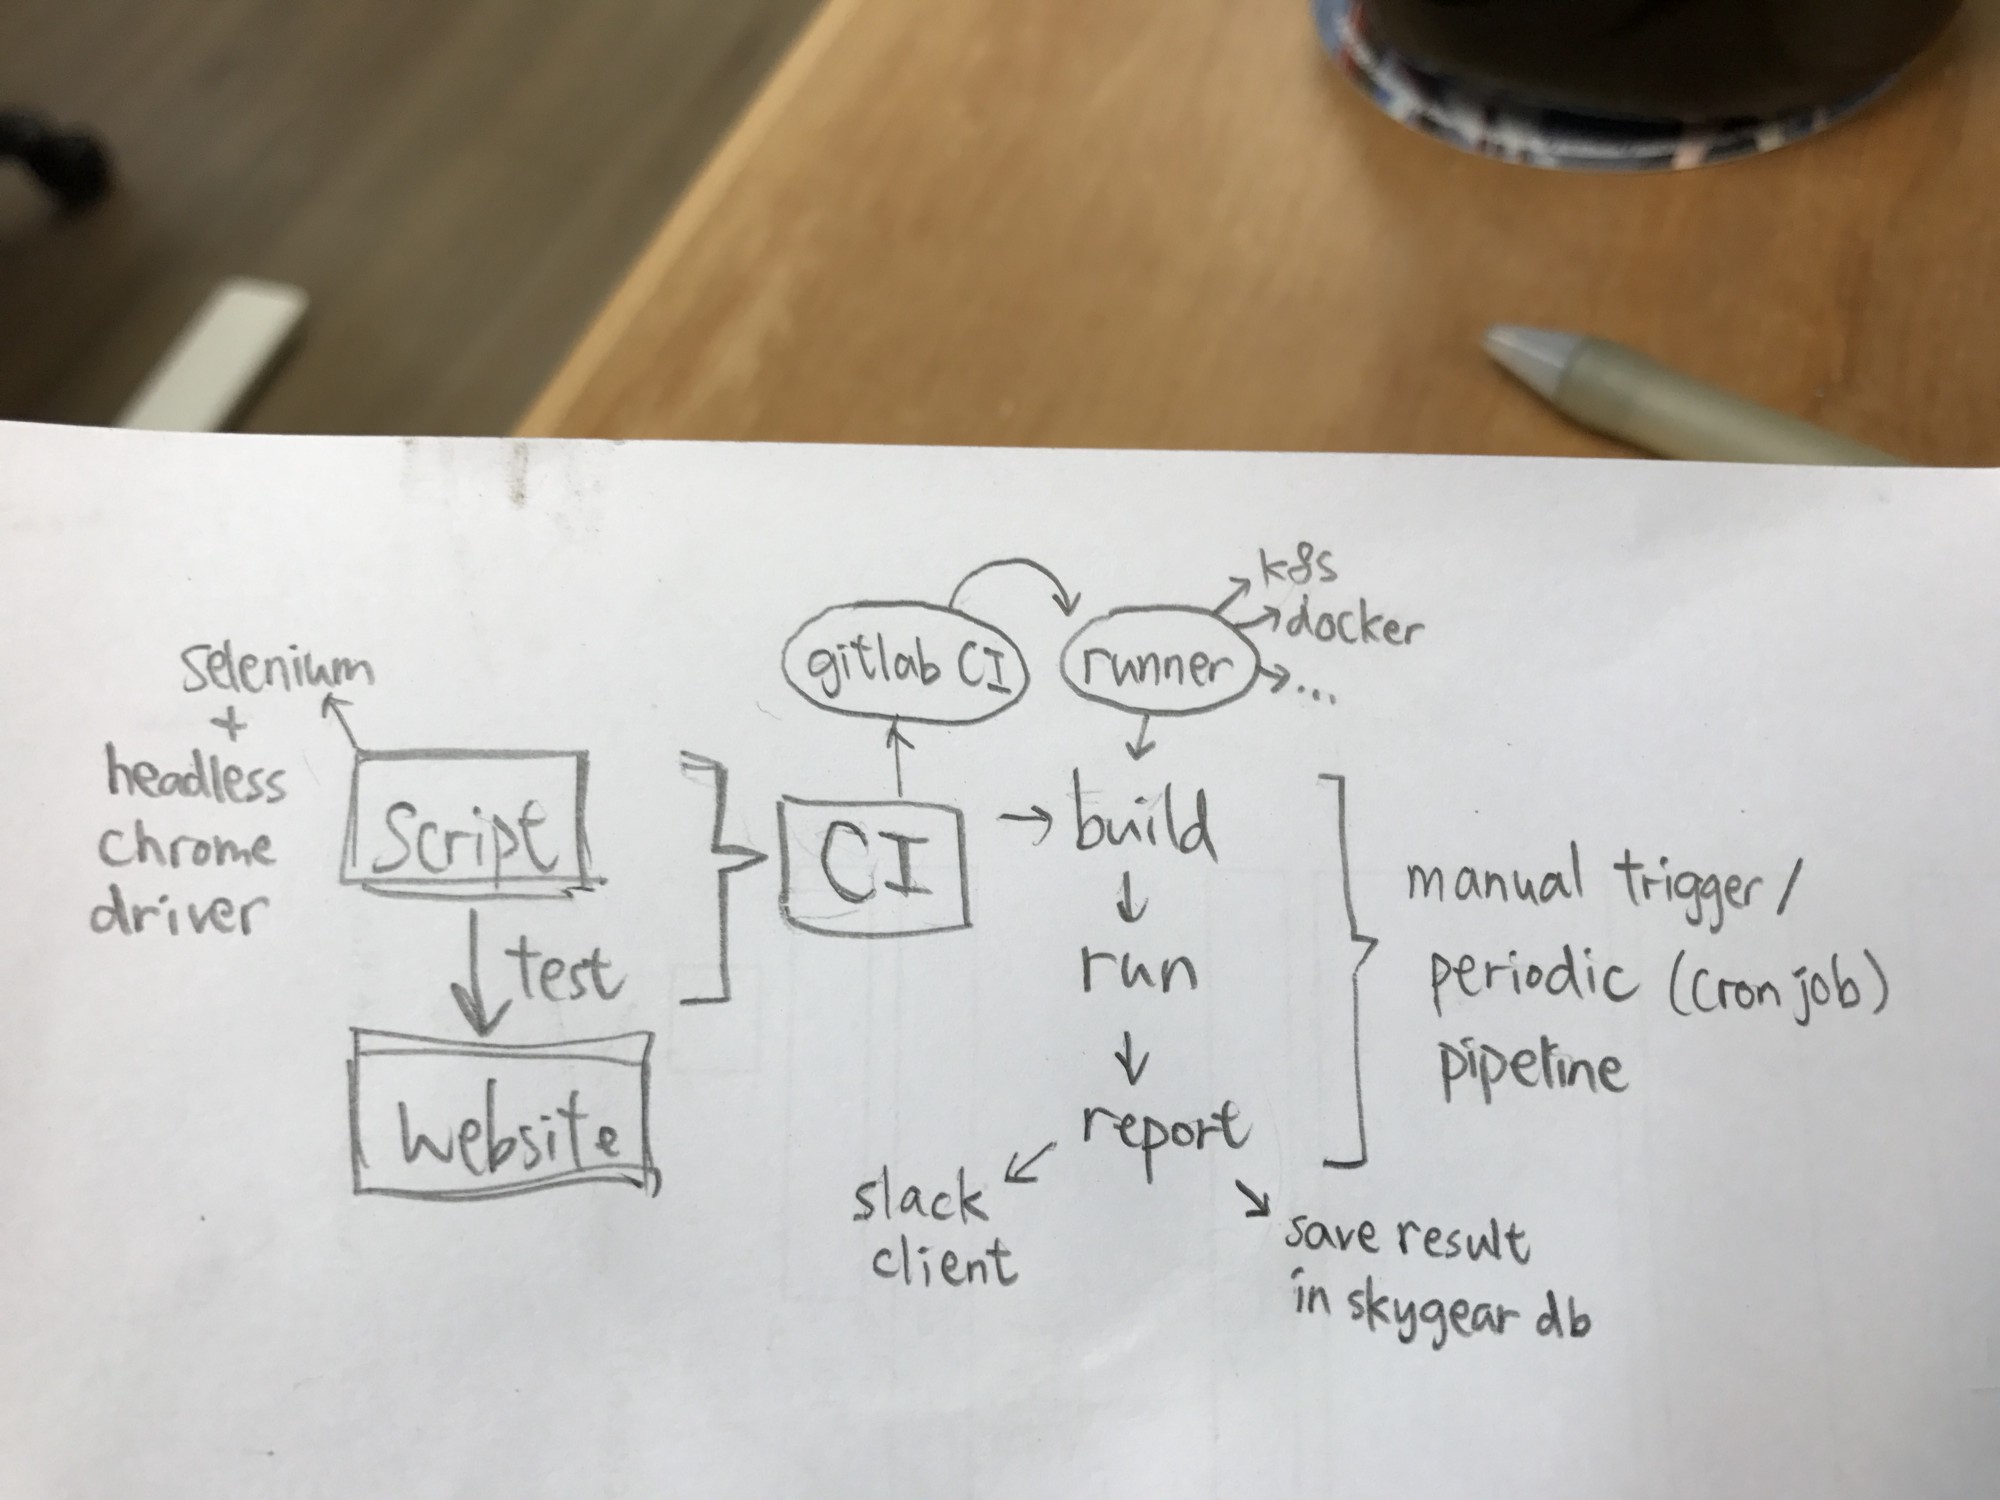
Step #1: Write the script and run it locally
First of all, we write the test script, to let our original manual test run automatically. Selenium is a well-known tool for web automation. It supports different client languages including Java, Ruby, Python, etc.
Here’s an example on perform a button click on a website in Python.
import unittest
from selenium import webdriver
from selenium.common.exceptions import NoSuchElementException

class TestTemplate(unittest.TestCase):
    """Include test cases on a given url"""

    def setUp(self):
        """Start web driver"""
        chrome_options = webdriver.ChromeOptions()
        chrome_options.add_argument('--no-sandbox')
        self.driver = webdriver.Chrome(chrome_options=chrome_options)
        self.driver.implicitly_wait(10)

    def tearDown(self):
        """Stop web driver"""
        self.driver.quit()

    def test_case_1(self):
        """Find and click top-right button"""
        try:
            self.driver.get('https://www.oursky.com/')
            el = self.driver.find_element_by_class_name('btn-header')
            el.click()
        except NoSuchElementException as ex:
            self.fail(ex.msg)

    def test_case_2(self):
        """Find and click Learn more button"""
        try:
            self.driver.get('https://www.oursky.com/')
            el = self.driver.find_element_by_xpath(".//*[@id='tag-line-wrap']/span/a")
            el.click()
        except NoSuchElementException as ex:
            self.fail(ex.msg)

if __name__ == '__main__':
    suite = unittest.TestLoader().loadTestsFromTestCase(TestTemplate)
    unittest.TextTestRunner(verbosity=2).run(suite)
With the idea of a basic unit test model, we could easily identify these three major components in the script:
- Set up
- Run test case
- Tear down
In this script, it will run test_case_1 and test_case_2 respectively, both with setUp before the test and tearDown after the test. We use unittest as our testing framework in this example. Feel free to use what you like, such as pytest or nose in Python.
You can add more test cases, such as filling in forms and clicking on elements, depending on your website’s interface.
Step #2: Build an image with your testing environment
Test running requires a clean environment. To create a clean environment, we definitely do not want to set up a real machine every time and wait for hours to install all the software needed. The container concept helps.
Docker helps you build your testing environment into an image. The image includes all the software that needs to be pre-installed and run on that container like a virtual machine. With Docker, you can just create a new container and pull the same image every time you want to start over from your default environment.
To perform our test with the Selenium Python client, we want our image to pre-install the following:
- Python
- Google Chrome
- Chrome driver
- Xvfb
Xvfb is a virtual display server that helps you to launch a browser in a headless mode (without display). It is necessary to run the UI tests in a container. It cannot connect to a display output to show the browser visually.
Then, we will also install the Selenium package inside the container. Not all projects need the same list of packages.
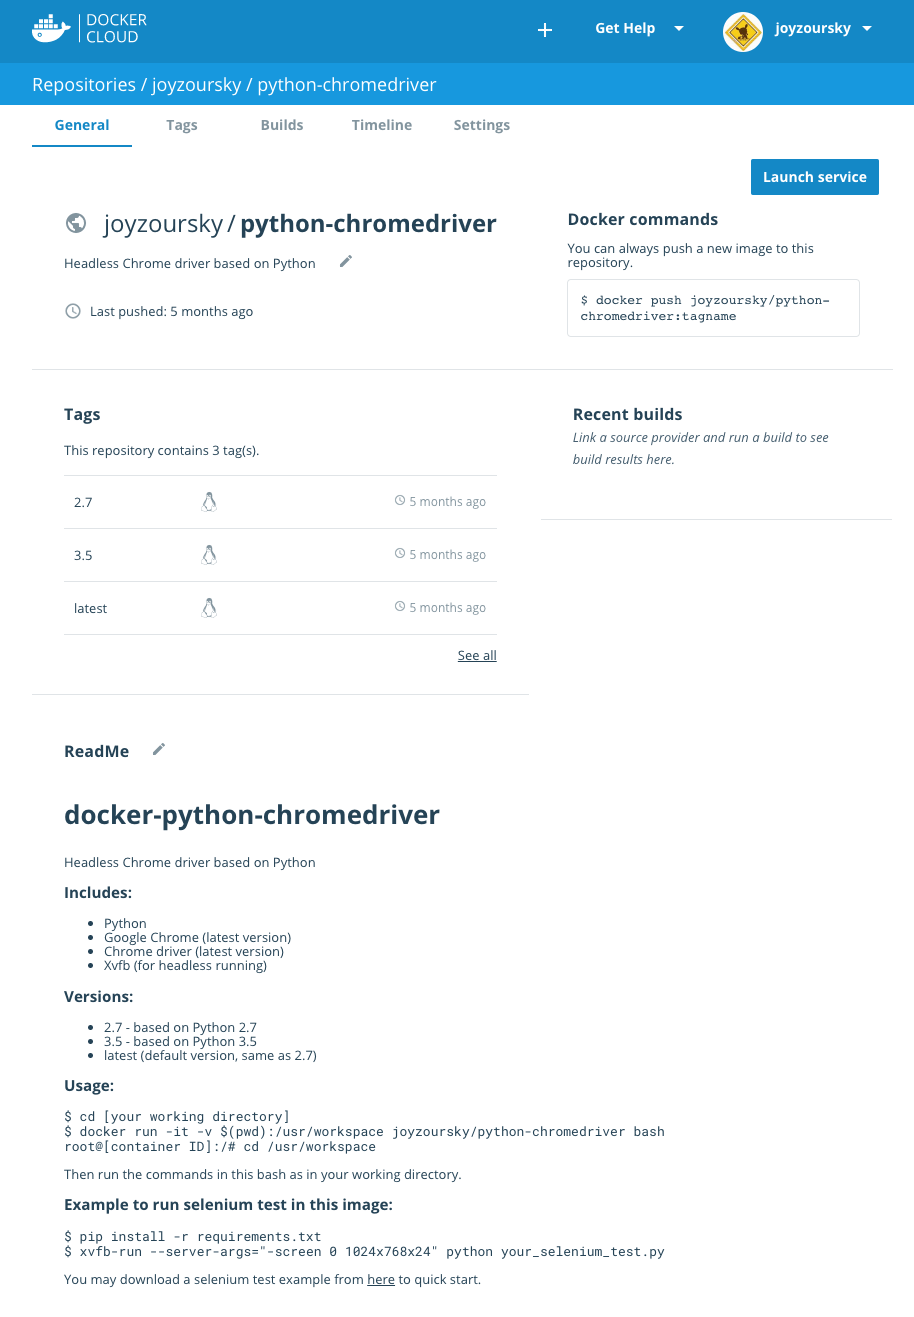
We create a Dockerfile, build the image and upload to our Docker Cloud.
You could find this image through this link, or directly pull this image with this command:
docker pull joyzoursky/python-chromedriver
Then you will have an environment ready for performing the UI tests.
Step #3: Set up GitLab CI
GitLab provides a CI/CD Pipelines feature, to continuously build and run your projects. The setup is like other CI tools such as Travis CI or Jenkins. This requires a .gitlab-ci.yml file to configure your build process.
Take a look at this example:
image: joyzoursky/python-chromedriver:3.5

before_script:
  - pip install -r requirements.txt

variables:
  DBUS_SESSION_BUS_ADDRESS: "/dev/null"

stages:
  - test
  - report

test_suite_1:
  stage: test
  script:
    - xvfb-run --server-args="-screen 0 1024x768x24" python -u test_suite_1.py

test_suite_2:
  stage: test
  script:
    - xvfb-run --server-args="-screen 0 1024x768x24" python -u test_suite_2.py

send_report:
  stage: report
  script:
    - python send_report.py
When new codes are pushed to the repository, GitLab will look for .gitlab-ci.yml from the root directory, and trigger a build according to your settings.
In this script, it pulls the environment image from joyzoursky/python-chromedriver:3.5 in the first line. Then it installs the required packages like Selenium, sets variables needed, and then it starts the process.
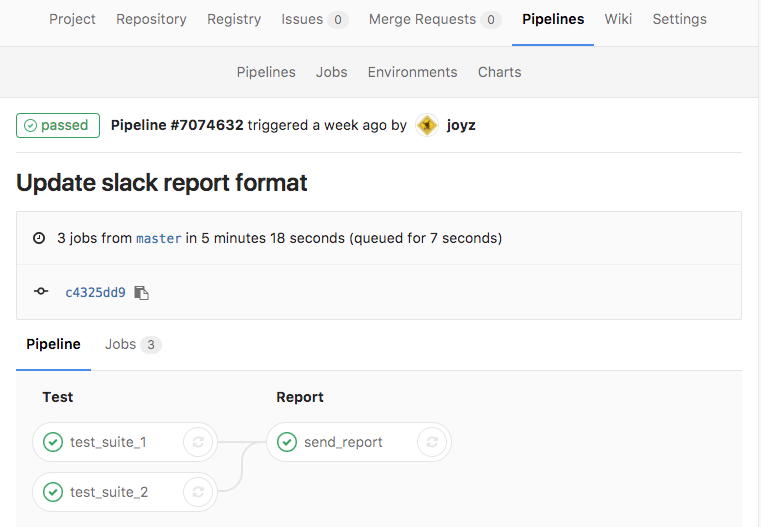
Note that there are 2 stages of the build process in this example: test and report. In each stage, the jobs in that stage will be run concurrently. You can define tests in the same stage if they could run in sync.
Go to the Pipelines page to see the flow and completion here:
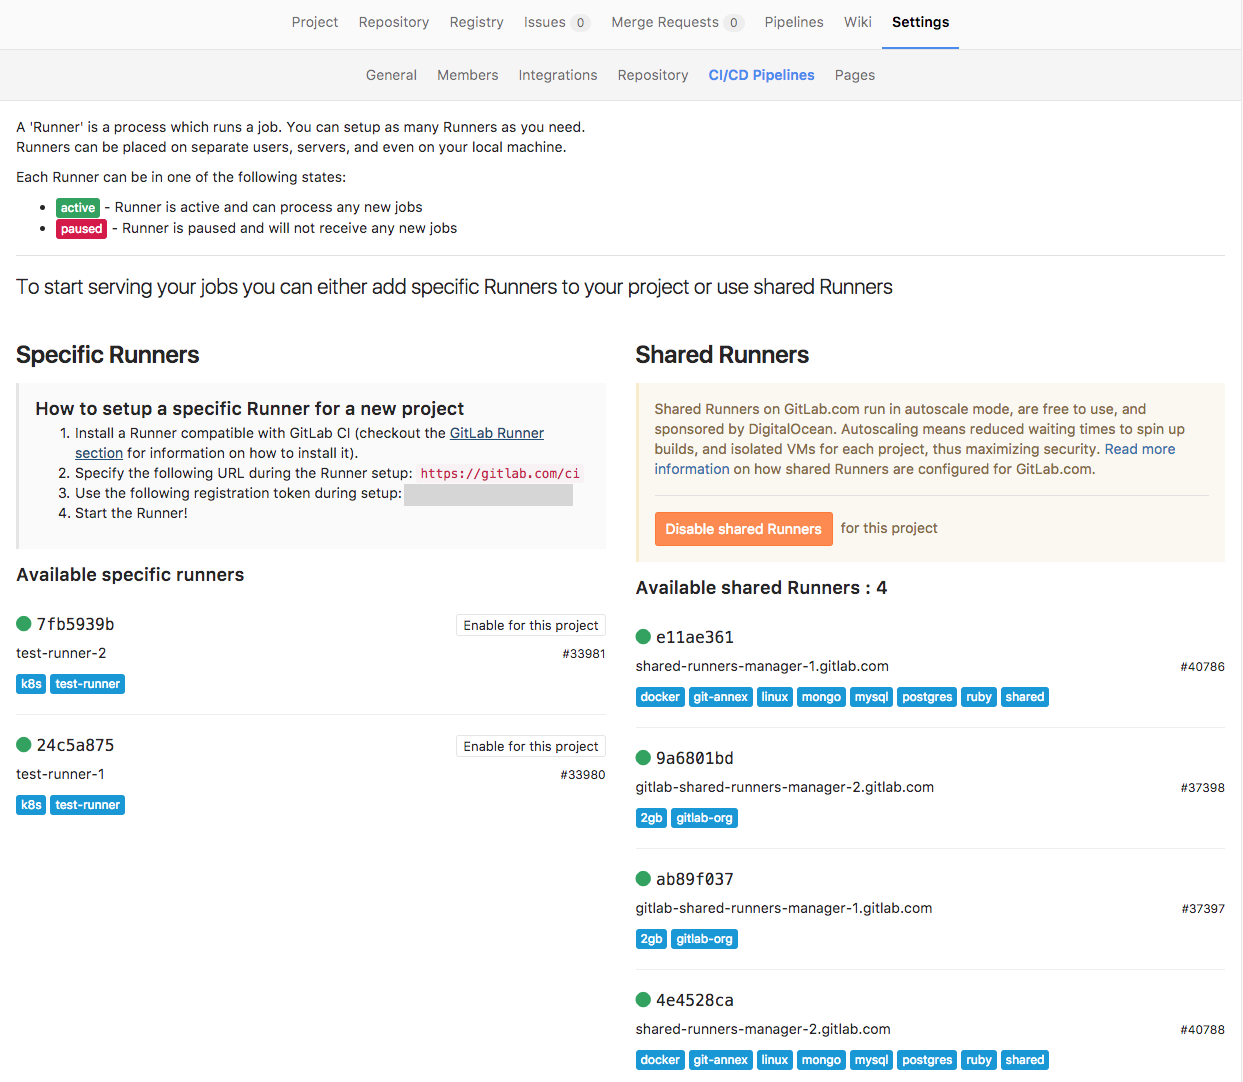
So where do we run our tests actually?
GitLab hosts some shared runners which are free. By looking into the build log, we can find the container information in the first few lines:
Running with gitlab-ci-multi-runner 1.10.4 (b32125f)
Using Docker executor with image joyzoursky/python-chromedriver:3.5 ...
Pulling docker image joyzoursky/python-chromedriver:3.5 ...
Running on runner-4e4528ca-project-2749300-concurrent-0 via runner-4e4528ca-machine-1489737516-5e0de836-digital-ocean-4gb...
It shows the container name running on Digital Ocean.
Of course, you can also create your specific runners to run the test on your self-hosted machines. GitLab supports runners on different platforms including Docker and Kubernetes. But, as GitLab is a new platform, it goes through many updates. So the specific runners may sometimes break when they are out-of-date. You should always refer to the official repository when configuring the setup.
Step #4: Run and report periodically
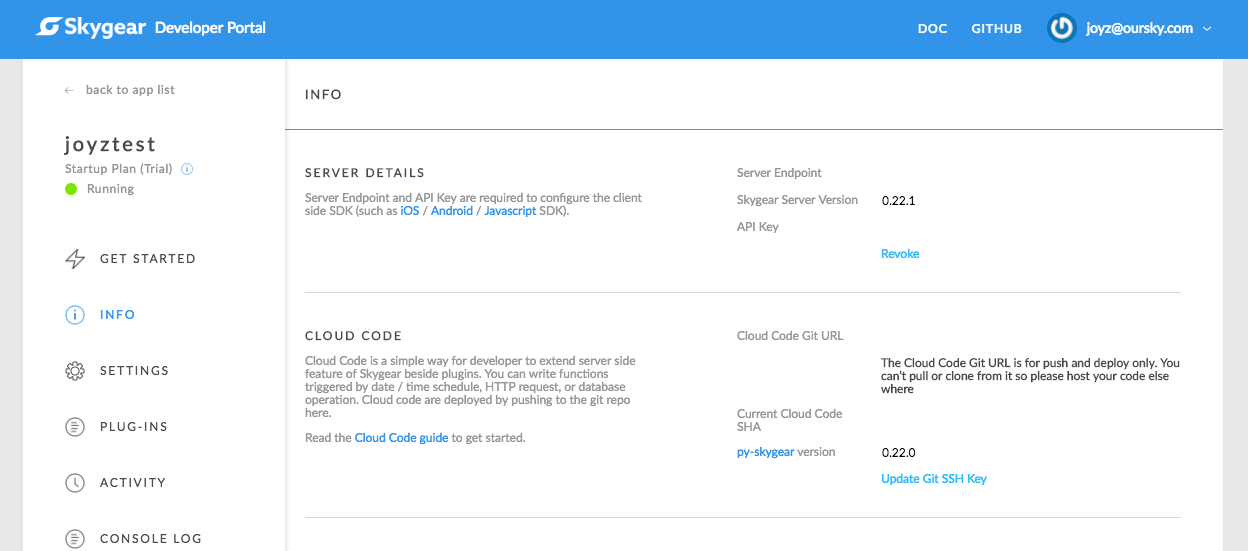
You may want to have your tests run periodically. You can achieve this by setting up cron jobs, but you may not want to set up a server just to run a one-line cron job. My company’s open source serverless back-end is Skygear. We can use it to write a simple cloud code function with the @every decorator and trigger the test pipeline on an interval of time.
- Login to your Skygear portal
- Find your Cloud Code Git URL
- Clone the quick start codes
- Edit to add the little piece of code below
- Push the codes and the cron job will trigger the test every hour
@skygear.every('0 * * * * *')
def trigger_test:
    requests.post(https://gitlab.com/api/v4/projects/<project_id>/trigger/pipeline,
                  data={
                        'token': <trigger_token>,
                        'ref': <ref_name>,
                  })
Assume that you have already written some code to generate test reports. Would you like to receive and read the test reports every hour? Of course not. So, we also link Skygear’s free Cloud DB service to store the test result. The system only sends alerts when a test case changes from PASS to FAIL, or FAIL to PASS. This notification approach may vary according to the project need.
To save and retrieve data from the Skygear database, we could use the existing SDK. Or if you are a Python user, you may use this little Python DB Client to help write your data handler. We use it to save test results after each test case, and retrieve the reports after running all test suites.
Finally, we can have the test result alerts sent on demand.
P.S. We use Slack real time messaging API to do the reporting, so we can receive notifications in the corresponding project channels.
Conclusion
Now, whenever there is a code update on the production branch, this automated UI test is triggered and tests are done automatically. Failure results will be pushed back to our Slack channel to notify our developers.
The biggest barrier to setting up a free automated UI test is probably researching the tools if you are not already a professional QA tester. Since QA is my full-time job, I hope that sharing our upgraded UI Test stack will help free up your time as well!

