In this tutorial, we’re using Skygear, our company’s open source backend-as-a-service (BaaS), to help developers build a cloud photo upload platform. Skygear includes essential features such as push notifications, cloud database, and user authentication.
Storage and access shouldn’t slow your app development.
User-generated content is essential to apps or platforms of any kind these days. People want to be able to store, access, share, and discover content. But a critical feature like storing and accessing files shouldn’t require rewriting backend code from scratch every time — take notes from Five Advantages of Serverless Technology.
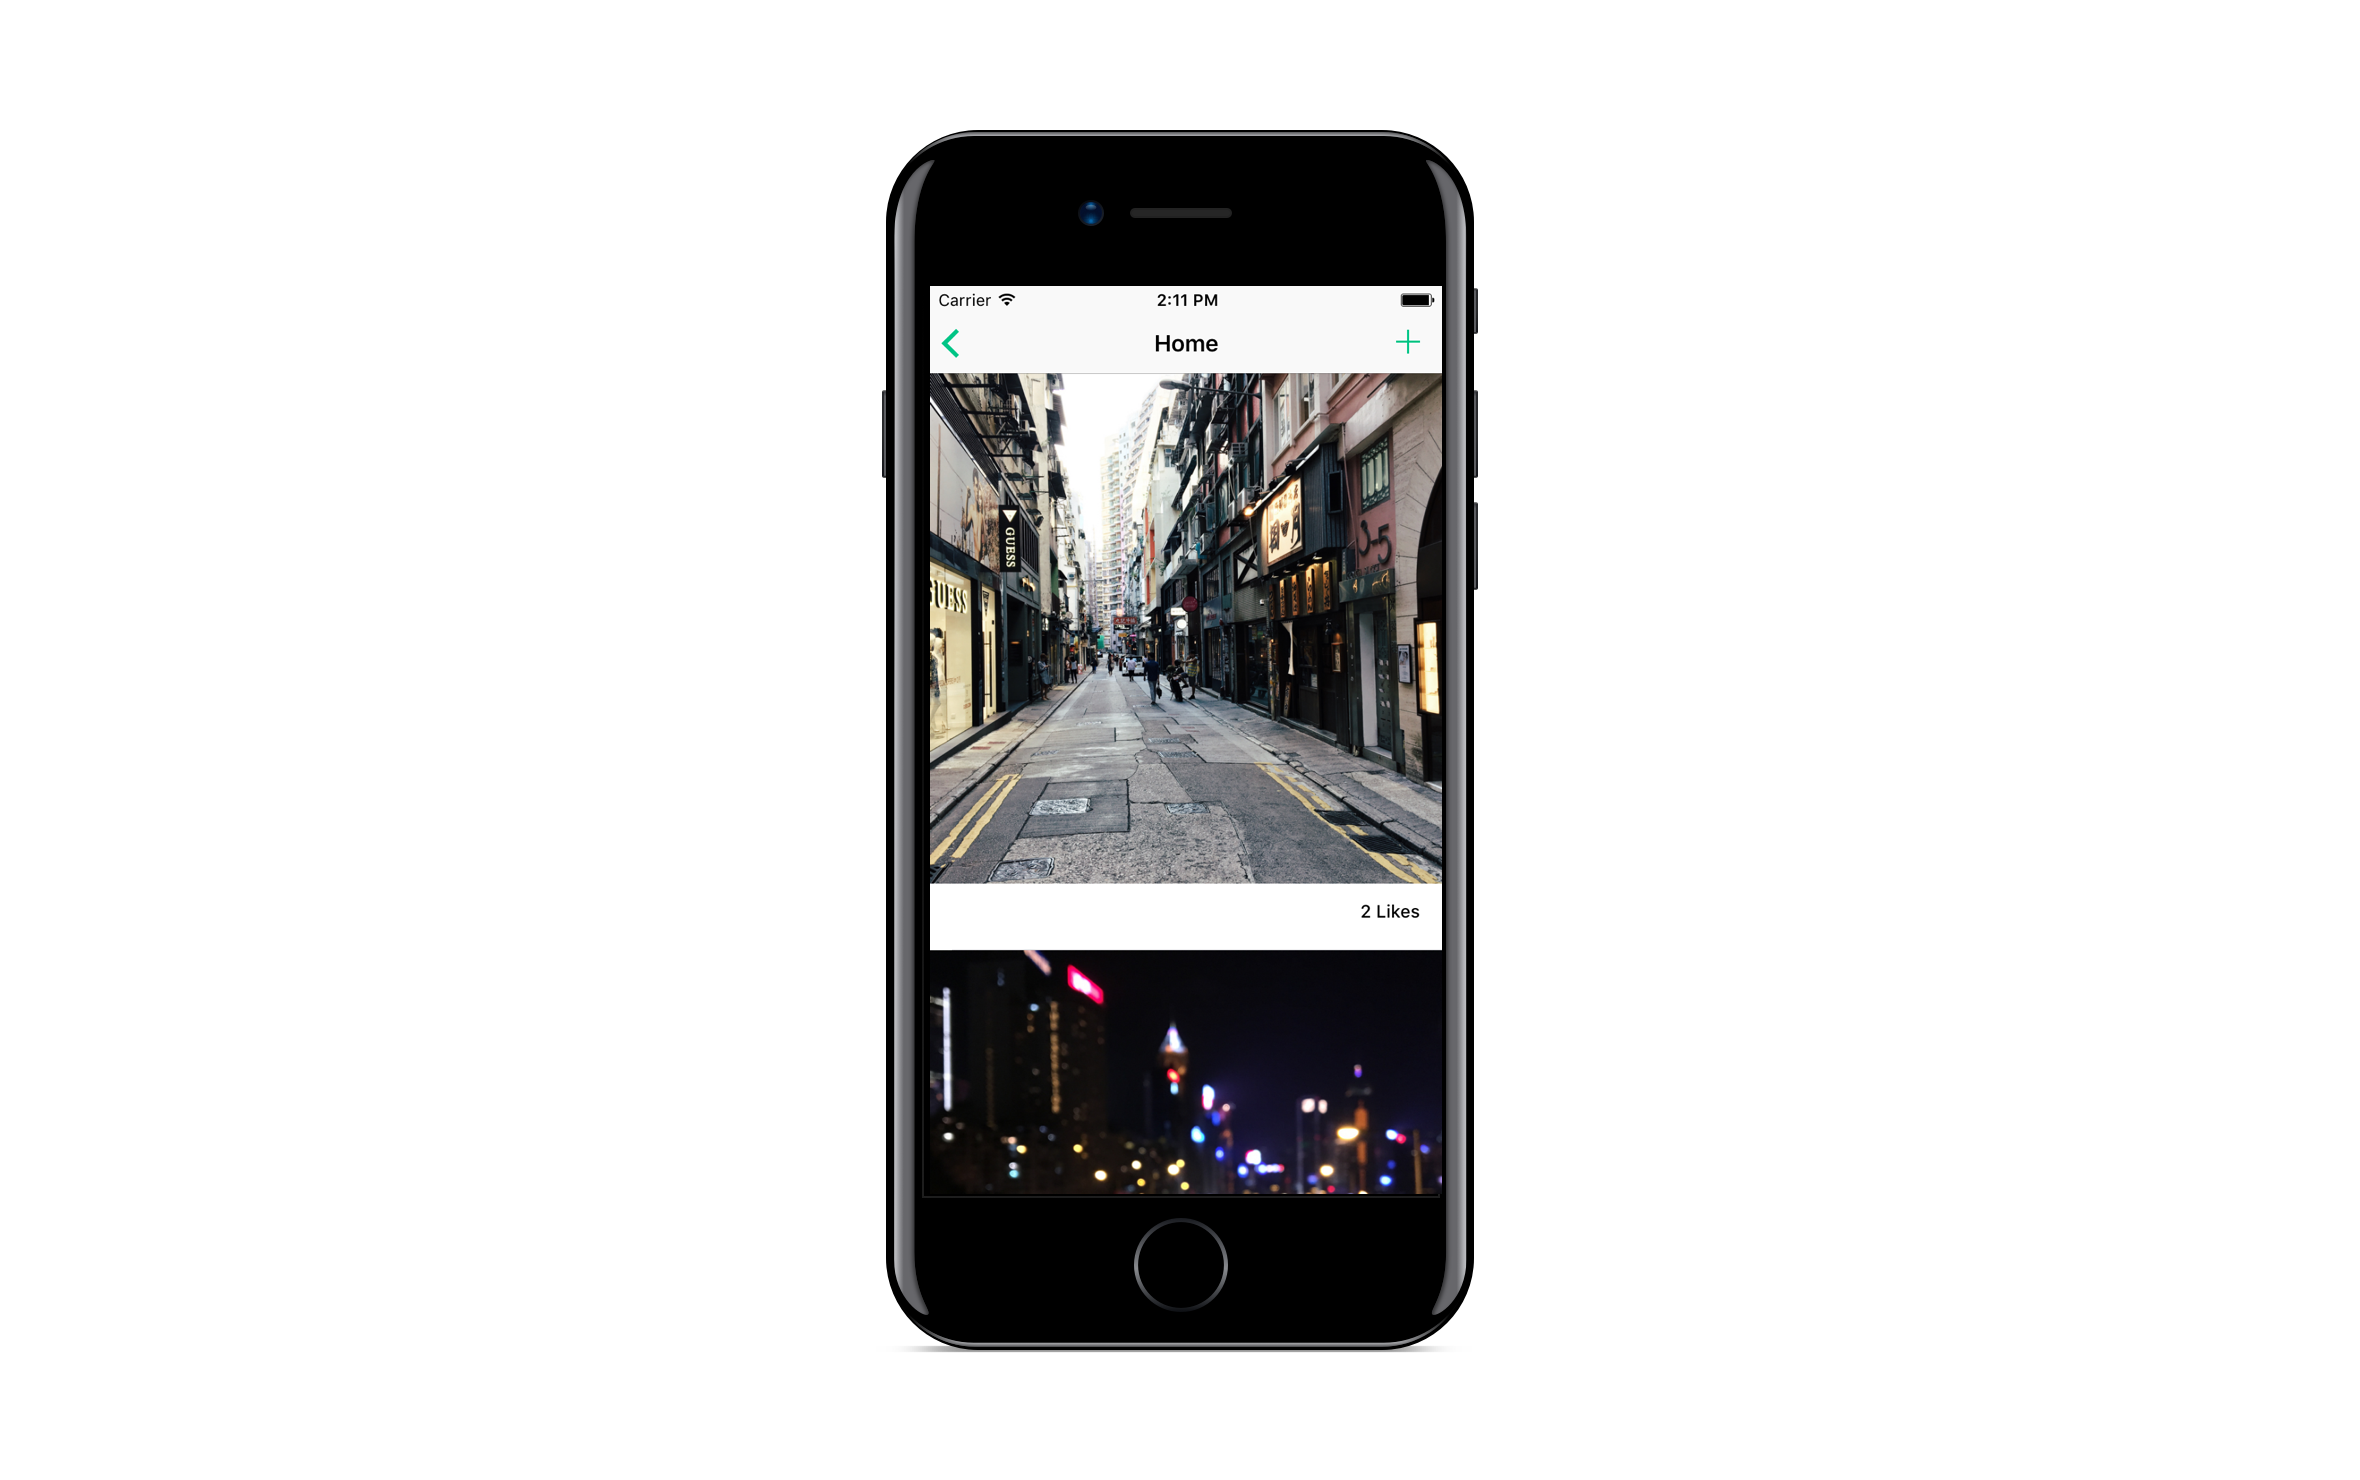
I am going to show you how to build a simple app that allows you to upload images and share them using Skygear.
Skygear’s CloudDB allows you to upload your user-generated content including images, videos, or audio files to the cloud storage. The uploaded files will be hosted in the cloud and made available for your mobile app clients.
To see how it works: you can download the Swift photo feed demo on GitHub and run it with Xcode.
First step: Connecting your app to the cloud.
Now, let’s initialize Skygear so your app has a backend ready to be connected to. It takes three simple steps:
1. Create your app backend on the Skygear Portal
2. Install the Skygear SDK with CocoaPods
3. Import SKYKit module & other configurations into your code
You can follow this step-by-step iOS guide for setting up the Skygear SDK in your app.
Now let’s upload a photo.
You can make use of Asset in Skygear to store file references, such as images and videos on the database.
Let’s say — a user has taken a photo, in order to have the photo uploaded, we will call the uploadAsset API to upload the photo image file as an asset.
let container = SKYContainer.default()!

guard let asset = SKYAsset(data: imageData) else {
    onCompletion(false)
        return
    }

asset.mimeType = "image/jpg"
container.uploadAsset(asset, completionHandler: { uploadedAsset, error in
    if let error = error {
        print("Error uploading asset: \(error)")
    } else {
        // Handle upload success
        print("Asset uploaded: \(uploadedAsset)")
        // TODO: Save the asset with a Photo record
    }
})
In the above sample code, we define an uploadable SKYAsset and set the chosen image data as the asset data. Also we set the mimeType of the asset as image/jpg. Upon calling uploadAssest, the asset assigned will be uploaded. Then use the completionHandler to handle success / fail upload case.
You can check the full list of supported mime types here.
Attach the asset with a queryable record.
Since we want to query the photo later, we have to reference the image to a record in the cloud database.
In Skygear, an asset can only be saved with a record instead of a standalone upload. Here is how you can create a photo record and assign the uploaded asset as asset of the record.
if let uploadedAsset = uploadedAsset {
    let photo = SKYRecord(recordType: "photo")
    photo?.setObject(uploadedAsset, forKey: "asset" as NSCopying)
    publicDB.save(photo!, completion: { record, error in
        if let error = error {
            // Error saving
            print("Error saving record: \(error)")
        } else {
            if let recordID = record?.recordID {
                print("Saved record with RecordID: \(recordID)")
            }
        }
    })
} else {
    print("Error.")
}
Fetch the uploaded photos.
To fetch the photos we’ve uploaded through the app, we will access the photos by querying the corresponding photo records. With a photo record, we can directly read the URL of the uploaded asset with SKYAsset.url.
let query = SKYQuery(recordType: "photo", predicate: nil)

publicDB.perform(query!, completionHandler: { photos, error in
    for photo in photos {
            let imageAsset = photo.object(forKey: "asset") as? SKYAsset else {
            continue
        }
        // Handle imageAsset.url
        print("Image URL: \(imageAsset.url)")
    }
})
As a result, we have imageAsset.url in hand, so we can load back the image and display it on any device.
That’s it! We’re able to manage our photos on the cloud without writing any backend code.
Learn more about Skygear.
Besides images, you can also upload other file types (e.g. voice messages, PDF files, live recordings, etc) to the Skygear platform. Please see detailed documentation about file uploading here: Skygear iOS Assets (File Upload).
🖖If you need my help with setting up Skygear, just ping me (@david) in Skygear Slack Team.
If you found this piece helpful, follow Oursky Publication for more startup/entrepreneurship/project management/app dev hacks! 💚
At Oursky we’re all about helping brands and entrepreneurs make their ideas happen, as well as fellow developers — our latest project Skygear, an open source serverless platform for mobile, web & IoT apps — helps you build better apps faster. 😻
Setup your Skygear backend
First thing, in this example, you have to initialize Skygear before any Skygear app reference is created or used. If you have already done this for another Skygear feature, you can skip this step.
Initialize Skygear:
- Create your app backend on Skygear Portal (2 mins)
- Install the Skygear SDK (10 mins)
- Import
SKYKitmodule & other configuration into your code (3 mins)
You can follow this step-by-step iOS guide to initialize Skygear.
Uploading a photo
Ok. Let’s start implementing the uploading photos feature. In Skygear, you can make use of Asset to store file references, such as images and videos on the database. Let’s say, your user has taken a photo. In order to have the photo uploaded, we will call the uploadAsset API to upload the photo image file as an asset.
In the above sample code, we define an uploadable SKYAsset and set the chosen image data as the asset data. We also set the mimeType of the asset as image/jpg .
Upon calling uploadAssest, the asset assigned will be uploaded. Then we pass to the completionHandler to handle success / fail upload case.
You can check the full list of supported mime types here.
Saving the asset with a photo record
Since we want to query the photo later, we have to save the image to the cloud database.
In Skygear, an asset can only be saved with a record but not as a standalone upload. We will create a photo record and assign the uploaded asset as asset of the record.
Fetching the uploaded photos
Now, we want to load back the photos we’ve uploaded through the app.
To access the photos, we need to query the photo records. We can directly access the uploaded asset with SKYAsset.url .
As a result, we have imageAsset.url in hand , so we can load back the image and display it on any device.
To learn more about Skygear
In addition to images, you can also upload other file types (such as voice messages, PDF files, live recordings, etc) to the serverless platform. Please see detailed documentation about file uploading here: Skygear iOS Assets (File Upload). If you need my support on trying it out, just contact one of the Skygear Support Channel.