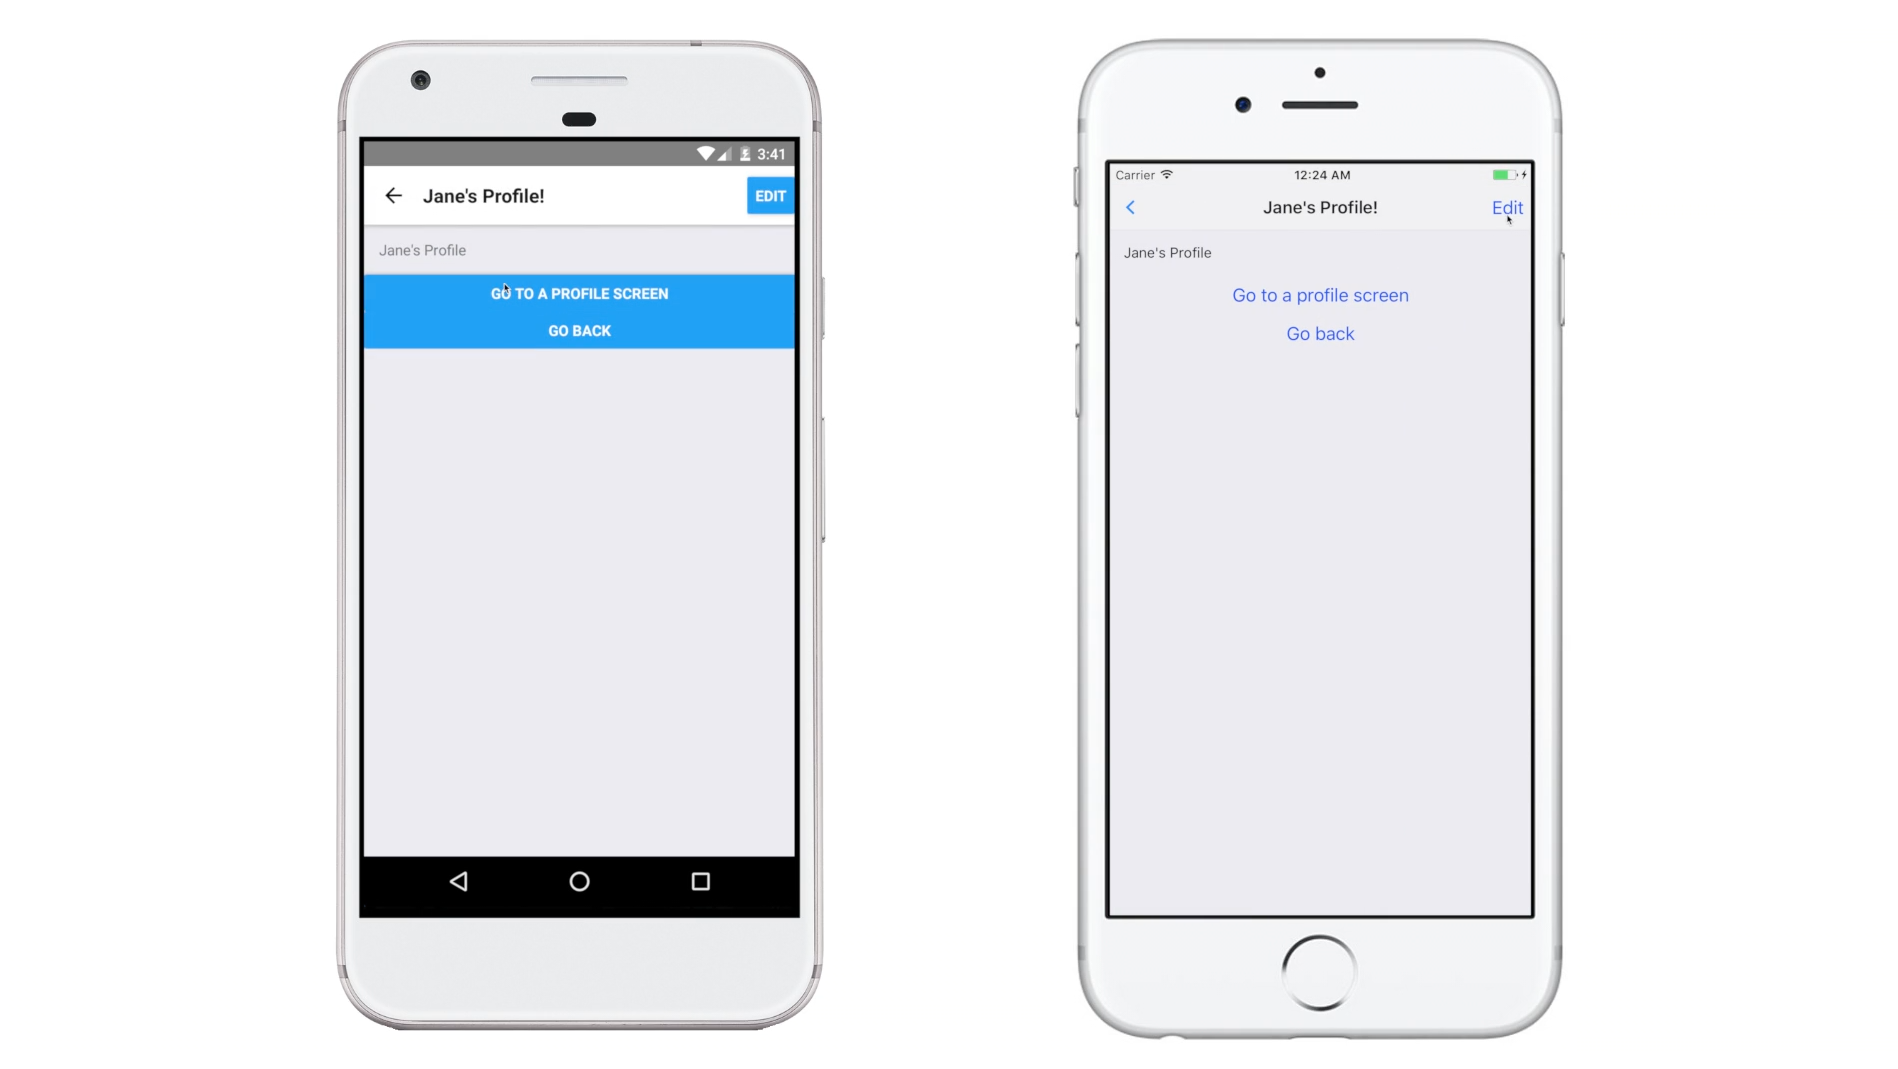
React Navigation, is a new navigation package for React Native that justified restructuring our entire app to incorporate this new implementation. Why is React Navigation important?
I’ll discuss below how we applied this great framework to our company’s product and share 2 tips with you.
Why React Navigation rocks?
Over the past year, the React Native core team has worked on improving the animation performance for the Animated library by leveraging the native animation driver. In the past, all animations were calculated in the JS Thread. If there are operations blocking the JS Thread, frames would be dropped and the animation would not be smooth.
Our team previously used Navigator, which used JS-driven animation for transitions when we first started our on-going client project. It worked well at first, but we started to suffer from performance issues when more features were added to our app and more operations needed to be done in the JS Thread. To make the screen transition smoother, we tried to use
InteractionManager.runAfterInteractions(() => { /* some operations */ });
in componentDidMount of the screen component. However, this was not a perfect solution for the issues we faced. The performance issues and API implementation of the Navigator became one of the product pains and feature requests from the React Native community.
To fix that, NavigationExperimental was introduced in early 2016 and officially released in late January 2017 as React Navigation. It takes advantage of native driven animation and calculates all the screen transition animations on the native side. Also, its design and implementation make it easy to integrate with a state management library like Redux. This leads to the next point.
React Navigation works well with Redux.
One of the benefits of integrating with Redux is we can perform navigation actions and change the navigation states easily. In the past, Redux could not be integrated with the Navigator API. Hence we needed to have a reference of navigation instance to perform a navigation action. Now, we can simply dispatch a Redux action and update the navigation state in our Redux store. That also means developers can implement their own navigation state reducer to fit some of the app-specific requirements.
Taking the app I was working on as an example, there are two important pages: SellItemPage and TakePicturePage. Users would go to the TakePicturePage to take a product picture before they actually go to the SellItemPage to fill in the product information. In the past, it worked as the following:
// In some where in the app
this.props.navigator.push({routeName: 'SellItemPage'});

// SellItemPage
class SellItemPage extends React.Component {

  componentWillMount() {
    this.props.navigator.push({routeName: 'TakePicturePage'});
  }

  ...
}
Now, we can simply create a specific navigation action, called gotoSellPage, for the above requirement and make small decouples between the component from the requirement.
// In some where in the app
this.props.navigationAction.gotoSellPage()

// navigationAction.js
function gotoSellPage() {
  return {
    type: 'Navigation/GotoSellPage',
  };
}

// navigationReducer.js
function reducer(state, action) {
  if (action.type === 'Navigation/GotoSellPage') {
    const routes = [
      ...state.routes,
      { key: 'sell-page-key', routeName: 'SellItemPage' },
      { key: 'take-pic-page-key', routeName: 'TakePicturePage' },
    ];
    return {
      ...state,
      routes,
      index: routes.length - 1,
    };
  }
  return getStateForAction(state, action); // return a new navState
}
Another benefit of using Redux is we can easily get information about the current navigation state. For example, we may want to know what the current screen or isScreenActive is in a particular screen. In the past, we had to do something like
this.props.navigator.navigationContext.addListener('willfocus', (e) => {
  const { route } = e.data;
  const isScreenActive = !!route && route.key === this.props.key;
  this.setState({
    isScreenActive,
  });
});
As the navigation state is now stored in the Redux store, we can get the current route by writing a simple recursive function:
function getCurrentRoute(navigationState) {
  if (navigationState.routes) {
    return getCurrentRoute(navigationState.routes);
  }
  return navigationState;
}
And store it as part of the navigation state. As a result, we can know isScreenActive in a particular Screen with
// navigationState is from mapStateToProps of react-redux and navigation is from React Navigation
this.props.navigationState.currentRoute.key === this.props.navigation.state.route.key
Changing navigation states and getting the current navigation state is no longer complicated when we are able to integrate with Redux.
Now, you may also want to know: is there any tips that makes the migration to React Navigation easier.
Make your life easier by using a High-Order Component.
Revamping the implementation of the app navigation was not an easy task, especially when there were so many assumptions with the old Navigator in our app. For example, we expected every navigation props could be accessed by this.props in screen components. Using React Navigation breaks this assumption because the navigation props now lives in `this.props.navigation.state.params* (what a long chain). Of course, React Navigation is still in beta release. Breaking changes are still expected in the future.
To tackle these problems, we have created a High-Order Component (HOC) for our screen component. HOC is an advanced technique in React for reusing component logic. In our HOC, it extracts the navigation props in this.props.navigation.state.params which is then passed to our original screen component. Besides, every screen component is coupled with the navigation action. Instead of binding the navigation actions every time in the component, we now use the HOC to bind the actions for the components. By using this HOC, we can easily inject useful information to every screen in our app, too.
For example, if we want to inject isScreenActive to our screen components, we can use mapStateToProps in our HOC.
function enhanceScreen(Screen) {
  class NavigationScreen extends React.Component {

    getIsScreenActive() {
      return this.props.currentRoute.key === this.props.navigation.state.key;
    }

    render() {
      return (
        <Screen
          { ...this.props.navigation.state }
          navigationAction={this.props.navigationAction}
        />
      );
    }

  }

  function mapStateToProps(state) {
    return {
      currentRoute: state.navigation.currentRoute,
    };
  }

  function mapDispatchToProps(dispatch) {
    return {
      navigationAction: bindActionCreators(navigationActionCreator, dispatch),
    };
  }

  const ConnectedNavigationScreen = connect(
    mapStateToProps,
    mapDispatchToProps
  )(NavigationScreen);


  return ConnectedNavigationScreen;
}
Conclusions.
The release of React Navigation makes React Native a more mature framework to use.
If you have never tried this framework, try it this weekend. If you have tried out the new React Navigation, please share your experience!
I will soon have another article to discuss about the tricky navigation bar configuration.
This article was written by YinYin Chui, Developer at Oursky, React Native Rookie and Currently working hard on a marketplace for buying/selling second-hand stuff with React Native and Skygear, an open source backend developed by our company Oursky. Hats off to Rick Mak, cheungpat, BenJ, Brian (b壹貳參肆零零) for making it better every day. Check it out if you’re interested.


