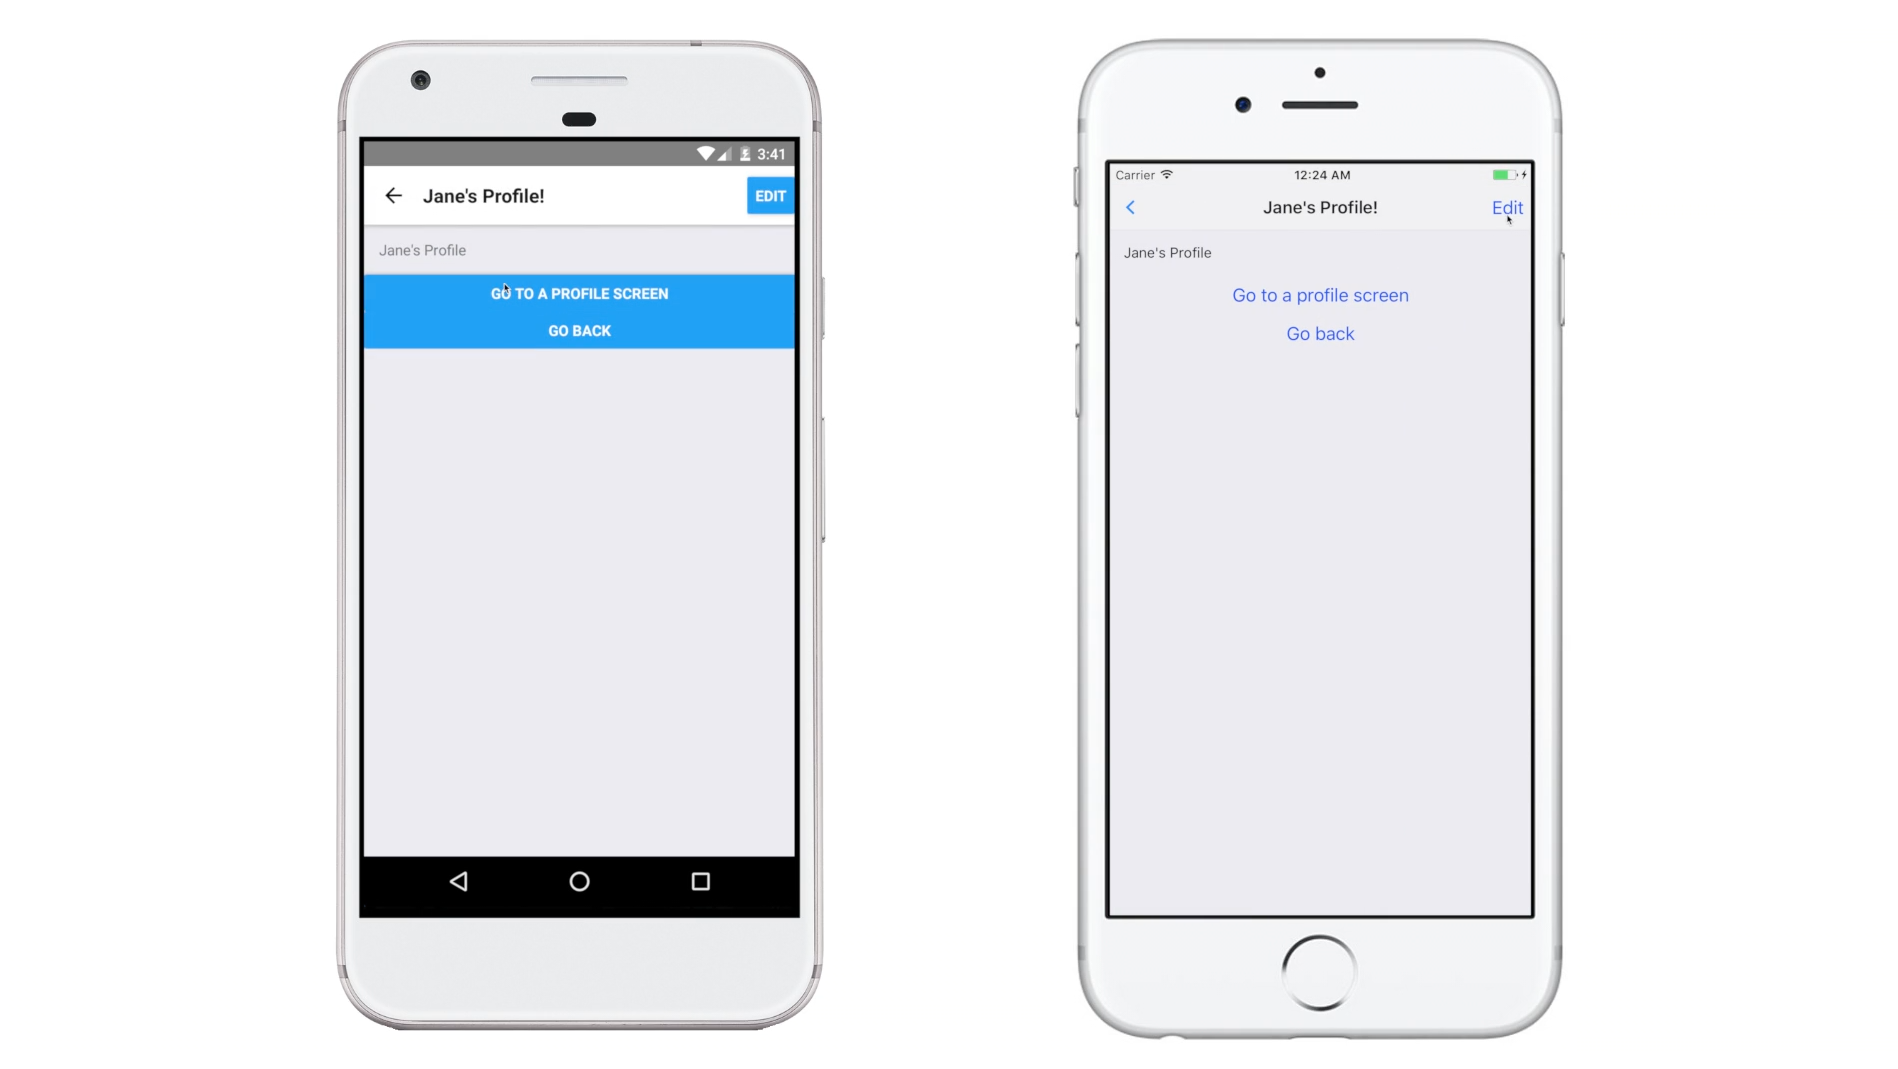
NOTE: This version is based on React Navigation 1.0.0-beta.6
After moving to React Native Navigation
In a previous post, we shared how we restructured an app with React Navigation. We loved how Navigation could route and transit our app flow. We resolved our previous problem with Navigator, which suffered performance problems once more operations were added to the JS Thread. But then we encountered another issue with React Navigation’s rendering of our navigation bar. In this piece below, we outline how we introduced the scene object to update the navigation bar content.
Unlike Navigator, React Navigation provides a way that allows a scene to update its navigation bar content. Before using React Navigation, we used to have a route object to hold the render logic of the scene and its navigation bar. Here’s an example below:
const sampleRoute = {
  renderNavBarLeft: () => (<NavBarBackButton />),
  renderNavBarTitle: () => (<SimplePageTitle />),
  renderNavBarRight: () => null,
  renderScene: () => (<SamplePage />),
};

// navigator
<Navigator
  { ...otherPropsPassingToNavigator }
  renderScene={route => route.renderScene()}
  navigationBar={
    <Navigator.NavigationBar
      routeMapper={{
        LeftButton: route => route.renderNavBarLeft(),
        RightButton: route => route.renderNavBarTitle(),
        Title: route => route.renderNavBarTitle(),
      }}
    />
  }
/>
Problem when updating the navigation bar with push animation
Now, it’s hard for us to update the navigation bar content in the scene component because they were rendered separately. The transition animation and update title for the navigation bar are performed as sequential actions. So the bar will not be rendered correctly before the view is pushed in.
Updating the title with setParams
We managed to resolve this problem by putting all the view states for the navigation bar into redux state. React Navigation provides a similar but simpler way to configure the scene’s navigation bar. Instead of using a route object, React Navigation allows us to define the configuration of navigation bar in the scene components:
class UserPage extends React.Component {

  static navigationOptions: {
    header: ({state}) => ({
      left: (<NavBarBackButton />),
      title: (
        <UserPageTitle
          userName={state.params.userName}
          profilePicUrl={state.params.profilePicUrl}
        />
      ),
      right: (<UserPageRight />),
    }),
  };

  updateNavBarTitle() {
    this.props.navigation.setParams({
      userName: 'Yin',
      profilePicUrl: 'http://www.example.com/myProfilePic.png',
    });
  }
  ...
}
We then update the navigation bar content by calling setParams provided. Despite the fact that it is much easier to use, there are downsides to configuring the scene’s navigation bar like that.
One of problems is your navigation bar may display the wrong content for a few milliseconds. Any navigation state update (navigation state is not shallow equal) will cause React Navigation to perform a transition. Calling setParams will update the navigation state and, hence, make React Navigation perform a transition. However, it only allows one view transition at one time and it only passes a new navigation state to the scene or navigation bar components after the transition is finished. Therefore, if you try to update your navigation bar in the componentWillMount of the scene component, your navigation bar may display the wrong content for a few milliseconds.

The Scene object comes in place to rescue
To prevent the above problem, we implemented a Scene object. The Scene object has the ability to call a forceUpdate navigation bar component and provide an interface for the scene component to update the props passing to the navigation bar component.
With this setup, we can just call this.props.scene.title.setState(newStateForNavBarTitle) in our scene component to update the state of navigation bar title component.
function Scene() {
  const forceUpdates = {};
  const partStates = {
    left: {},
    right: {},
    title: {},
  };

  function closeOverThisComponent(part, C) {
    class WrappedComponent extends Component {
      constructor(...args) {
        super(...args);
        forceUpdates = this.forceUpdate.bind(this); // Force update
      }
      componentWillUnmount() {
        delete forceUpdates;
      }
      render() {
        const props = {
          ...this.props,
          ...partStates,
       };
        return (
          <C {...props} />
        );
      }
    }
    return WrappedComponent;
  }

  function setPartState(p, payload) {
    partStates = {
      ...partStates,
      ...payload,
    };
    forceUpdates && forceUpdates();
  }

  const title = closeOverThisComponent('title', DummyNavBarComponent);
  const right = closeOverThisComponent('right', DummyNavBarComponent);
  const center = closeOverThisComponent('center', DummyNavBarComponent);
  return {
    left: {
      Component: left,
      setState: setPartState.bind(undefined, 'left'),
    },
    right: {
      Component: right,
      setState: setPartState.bind(undefined, 'right'),
    },
    title: {
      Component: title,
      setState: setPartState.bind(undefined, 'title'),
    },
  };
}
Since we have written our own navigation state reducer, we can easily inject a Scene object into a new route.
To make it more easy to update – we wrap it up with the enhanceScene HOC (High-order Component). Now we can easily configure the header option in navigationOptions and inject the setState methods for the navigation bar into our Scene.
function enhanceScene(Scene) {
  class NavigationScene extends React.Component {

    static navigationOptions = {
      header: ({state}) => ({
        left: (
          <state.scene.left.Component />
        ),
        title: (
          <state.scene.title.Component />
        ),
        right: (
          <state.scene.right.Component />
        ),
      });
    };

    render() {
      return (
        <Scene
          { ...this.props.navigation.state }
        />
      );
    }
  }

  ...
}
Now we have a correct title in the navigation bar
We now have a tricky work around to the problem of displaying the title bar. Viola!
Building an app? Our free developer tools and open source backend will make your job easier.


